Using a Red Light Face Wand in Your Skincare Routine
PR Bon Charge
Have you ever noticed how good it feels to put half an hour aside to do your skincare routine? Like it makes you feel everything's good with the world again?
If you're like me, the impact from our environment, skin tantrums, and lifestyle changes can meddle with our appearance. And with it, our confidence.
So, we look to products that make us feel good and * actually * have a positive impact. The latest feelgood beauty products hitting the skincare scene are red light devices. They're compact, convenient, and powerful, making them easy to slot into our everyday routines.
Whether you're a skincare expert or just starting, giving your skin that cared-for look doesn't need to be complicated. Just 10 minutes, three times per week, with a red light device might be all you need to boost your beauty routine.
Today, we'll give you a step by step breakdown on how to incorporate red light into your routine. For this article, we're going to use a Red Light Face Wand.
Using a product like the red light wand in your beauty routine can help you reduce fine lines and wrinkles, blemishes and redness. Even skin toning.
Bonus: No side effects or down time included in this guide.
Ready?
1. Cleanse & Exfoliate Your Skin
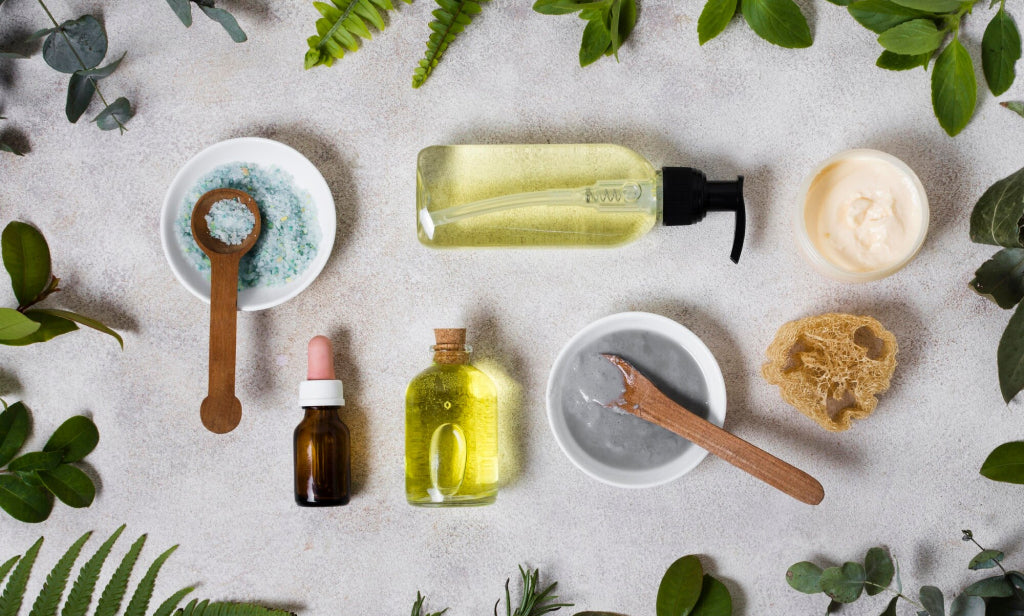
One of the most important steps of using red light for your face is starting with clean skin. The wand uses sonic vibrations, so we don’t want any dirt pushed into the pores. These vibrations will then help to gently massage your skin for a better glow and feel.
Cleansing the skin means the wand's red light can get underneath the skin's first layers. Be sure to cleanse your skin thoroughly, and clean the head of your wand too! You want the led lights to work properly.
Pro tip: Use a gentle cleanser that's free of harsh chemicals and fragrances. Your skin may become irritated. You also won't get the best results from the wand.
Once you're finished, you can move on to exfoliating your skin. Ensure you only exfoliate once or twice a week. Exfoliating the skin removes debris from the skin's surface. Don't overdo it, as you may be left with sensitive skin.
2. Use the Red Light Face Wand
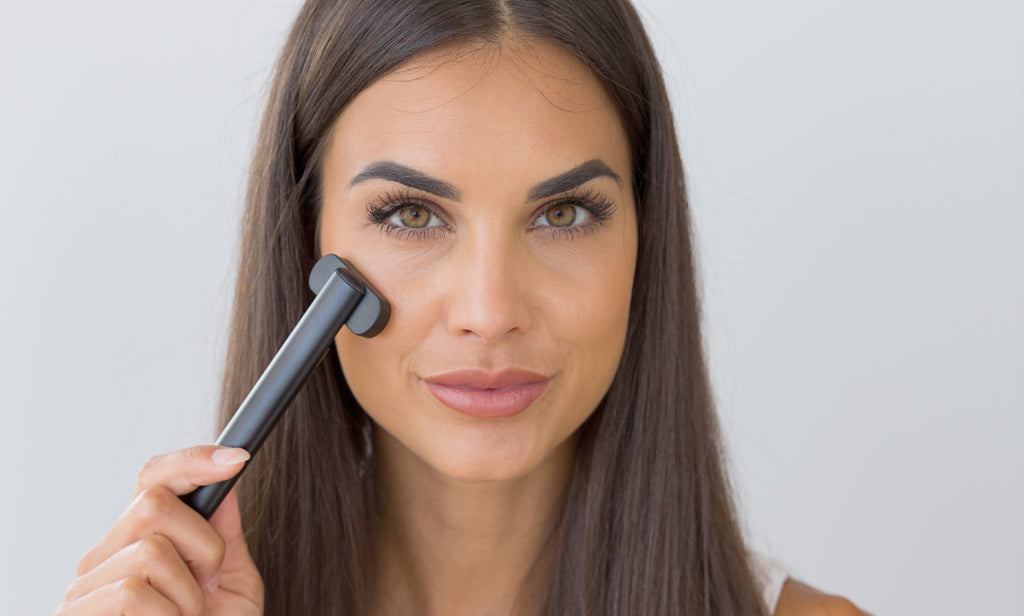
You'll only need 10 minutes for this part. Slotting this time between cleansing and moisturizing is your best bet to achieve results.
Make sure the Red Light Face Wand is fully charged. You can fully charge the wand in 1-2 hours.
Once fully charged, start gliding the Red Light Face Wand across your face. The wand will automatically activate once picked up and pressed against your skin.
The wand effortlessly sculpts and lifts while delivering targeted red (660nm) and near infrared (850nm) light to your skin.
Follow these simple steps for for each facial feature.
Jawline and chin: For a sculpted look, use the tool to trace from the chin to the earlobe, defining the jawline.
Forehead: Begin at the forehead's center, dividing it into three sections, and glide the tool outwards. Repeat the scraping motion, moving downward slightly each time.
Cheeks: Sweep upward from the nose along the cheeks and cheekbones towards the ears. Follow the same scraping process, moving downward towards the chin's center.
This technique helps contour and define the jaw, forehead, and cheeks, resulting in a more defined facial structure. Remember to be gentle and use slow, deliberate movements for the best results.
Under Eye: For the under-eye area, begin at the inner corner of the eye and move towards the temple
Brows: When working on the brows, move upwards along the brow bone from the inside to the outside
Lips: To plump the lips, gently glide back and forth across them about five times.
Neck: For the neck, divide it into four sections and scrape each one from the bottom to the top.The face wand is portable.
You can use it as a home device or take it with you anywhere and use it during the day.
3. Optimize Time and Duration
The amount of time you use red light therapy for will depend on your skin type and condition.
As a general rule, start with shorter times (4-5 minutes) to ensure your skin doesn't have any adverse effects.
This will help to prevent over-exposure to the light and minimize the risk of skin irritation.
If your skin doesn't feel sensitive after a handful of sessions, increase your treatment duration. A maximum of 10 minutes is all you need to start seeing results.
4. Use Red Light Therapy with Other Skincare Products
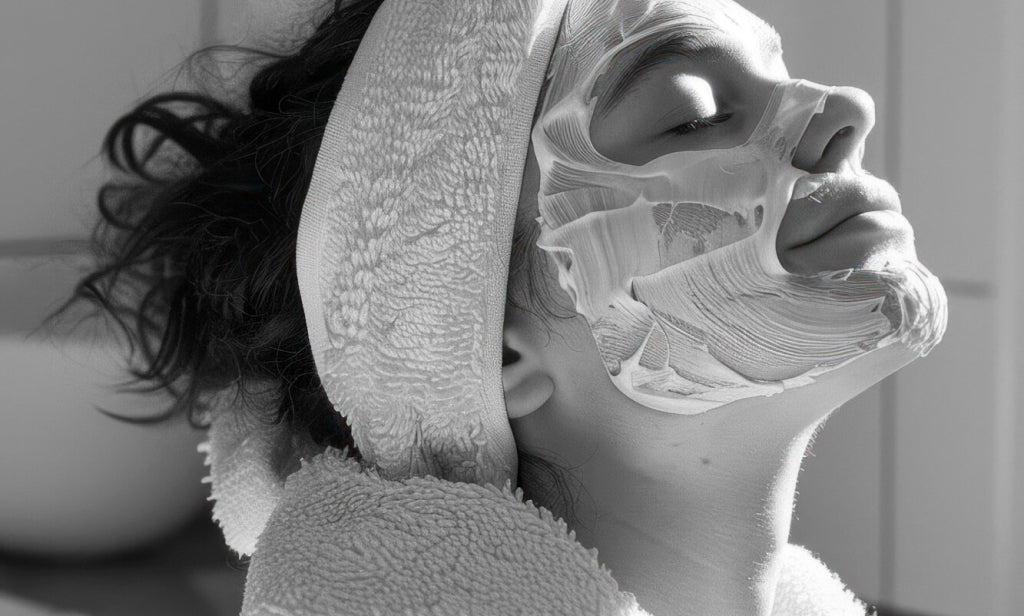
Using the right skincare products after applying the red light can help to enhance the face wand's effectiveness.
Look for oil-free products that don’t contain harsh chemicals or fragrances, as these can irritate the skin.
For example, using a facial oil or serum after applying the red light can help to keep your skin hydrated. Nourishing the skin with moisturizer can help to lock in moisture and improve the skin's texture.
Combining red light with other skin treatment, like hyaluronic acid, can help to enhance the your skin care sessions
5. Admire Your Results
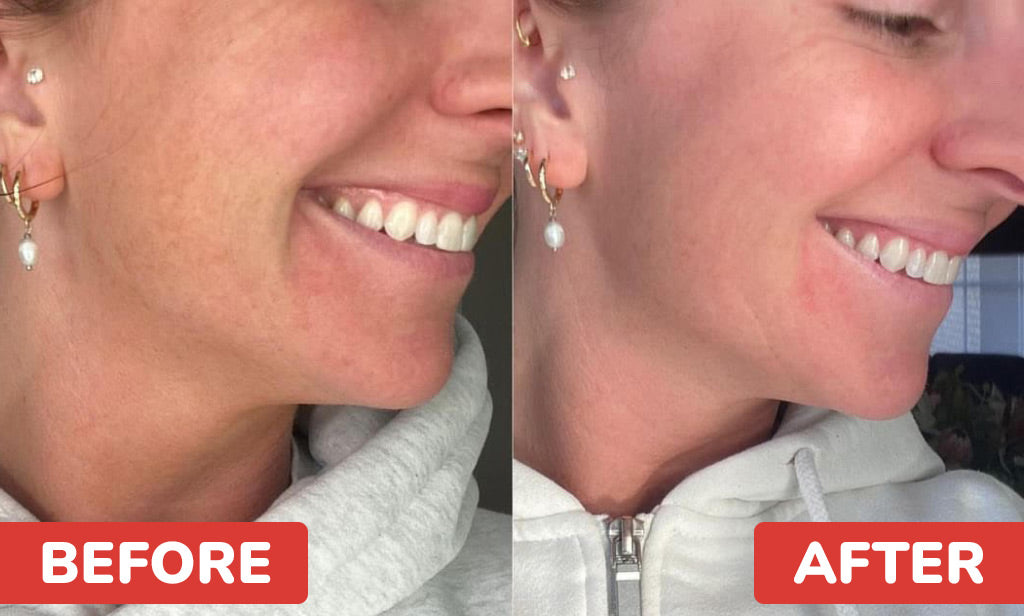
After 2 weeks, you should start noticing a change to your complexion.
However, everybody is different. Depending on your skin and the complexity of your skincare routine, you may see results sooner - or later.
To demonstrate the effectiveness of red light, here’s Kirsty. She kindly shared her before and after photos.
This is just from two weeks of using the Red Light Face Wand.
You can clearly see how the wand has reduced signs of aging and rejuvenated her skin.
You can follow Kirsty's red light journey on her Instagram profile: @kirstytartas
Final Thoughts
Kirsty's results are just one of many we're seeing. You're welcome to see more results from using red light here.
Including red light in your beauty routine might initially feel like you're breaking tradition. When you look back in a few weeks, you may just think it's the best anti-aging move you made.


